
☰ Chapters
9. Agent Configuration & Model Switching
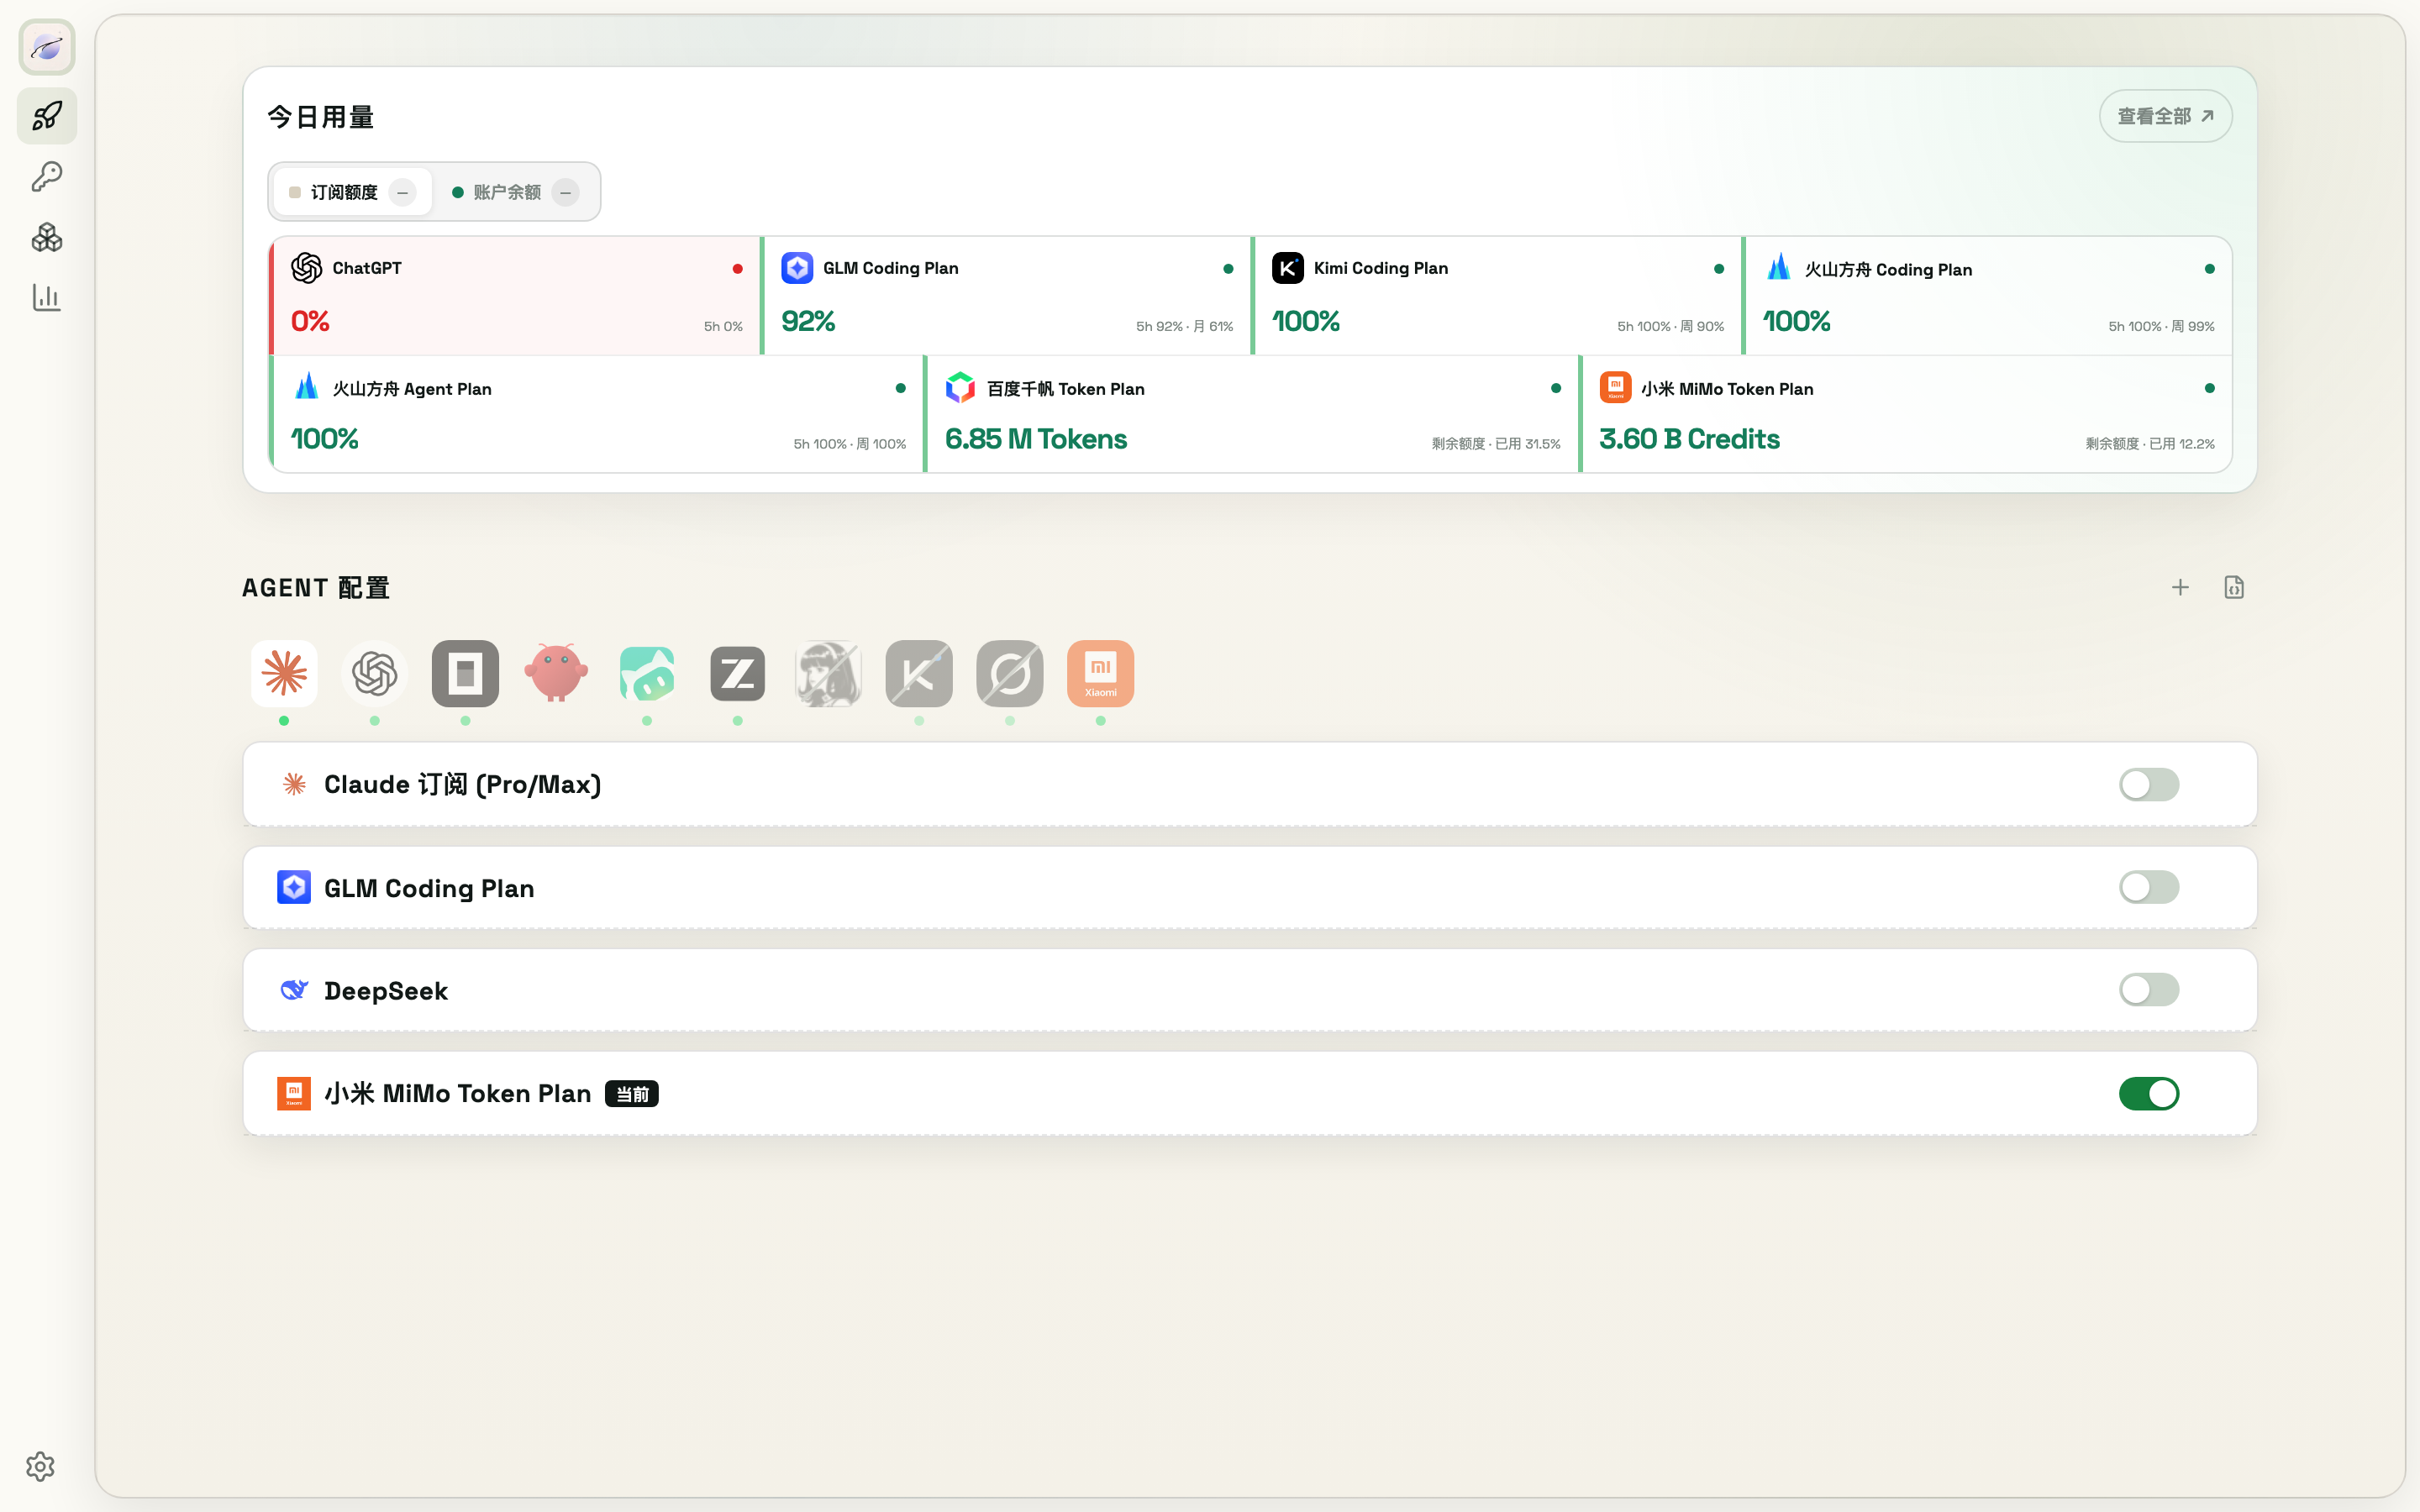
ModelSwap adapts 10 agents: Claude Code, ChatGPT (Codex), Kimi Code, WorkBuddy, Hermes, OpenCode, OpenClaw, ZCode, Grok, MiMo Code. Find them in the Agent configuration area of the Quick Start page: a row of agent tabs up top, with site cards for the selected agent below.
9.1 Two kinds of agents
- Exclusive (Claude Code, Codex): only one site is active at a time — switching means ModelSwap rewrites that agent's config file
- Additive (the other 8): multiple sites are written into the agent's config simultaneously; switching within them is done by the agent itself
9.2 Switch a model
- Click an agent tab (agents not detected on your machine show a grey dot; tabs can be drag-sorted)
- Click a site card to expand its model list
- Click a model chip to switch (the current model is highlighted and not clickable)
ModelSwap writes the config files (settings.json, config.toml, …) correctly on its own — no manual editing needed.
Surgical writes: ModelSwap only touches the fields it owns — your own hooks, statusLine, MCP settings are preserved as-is. Every switch takes a config snapshot first (see chapter 12) and rolls back automatically if the write fails.
9.3 Add a site
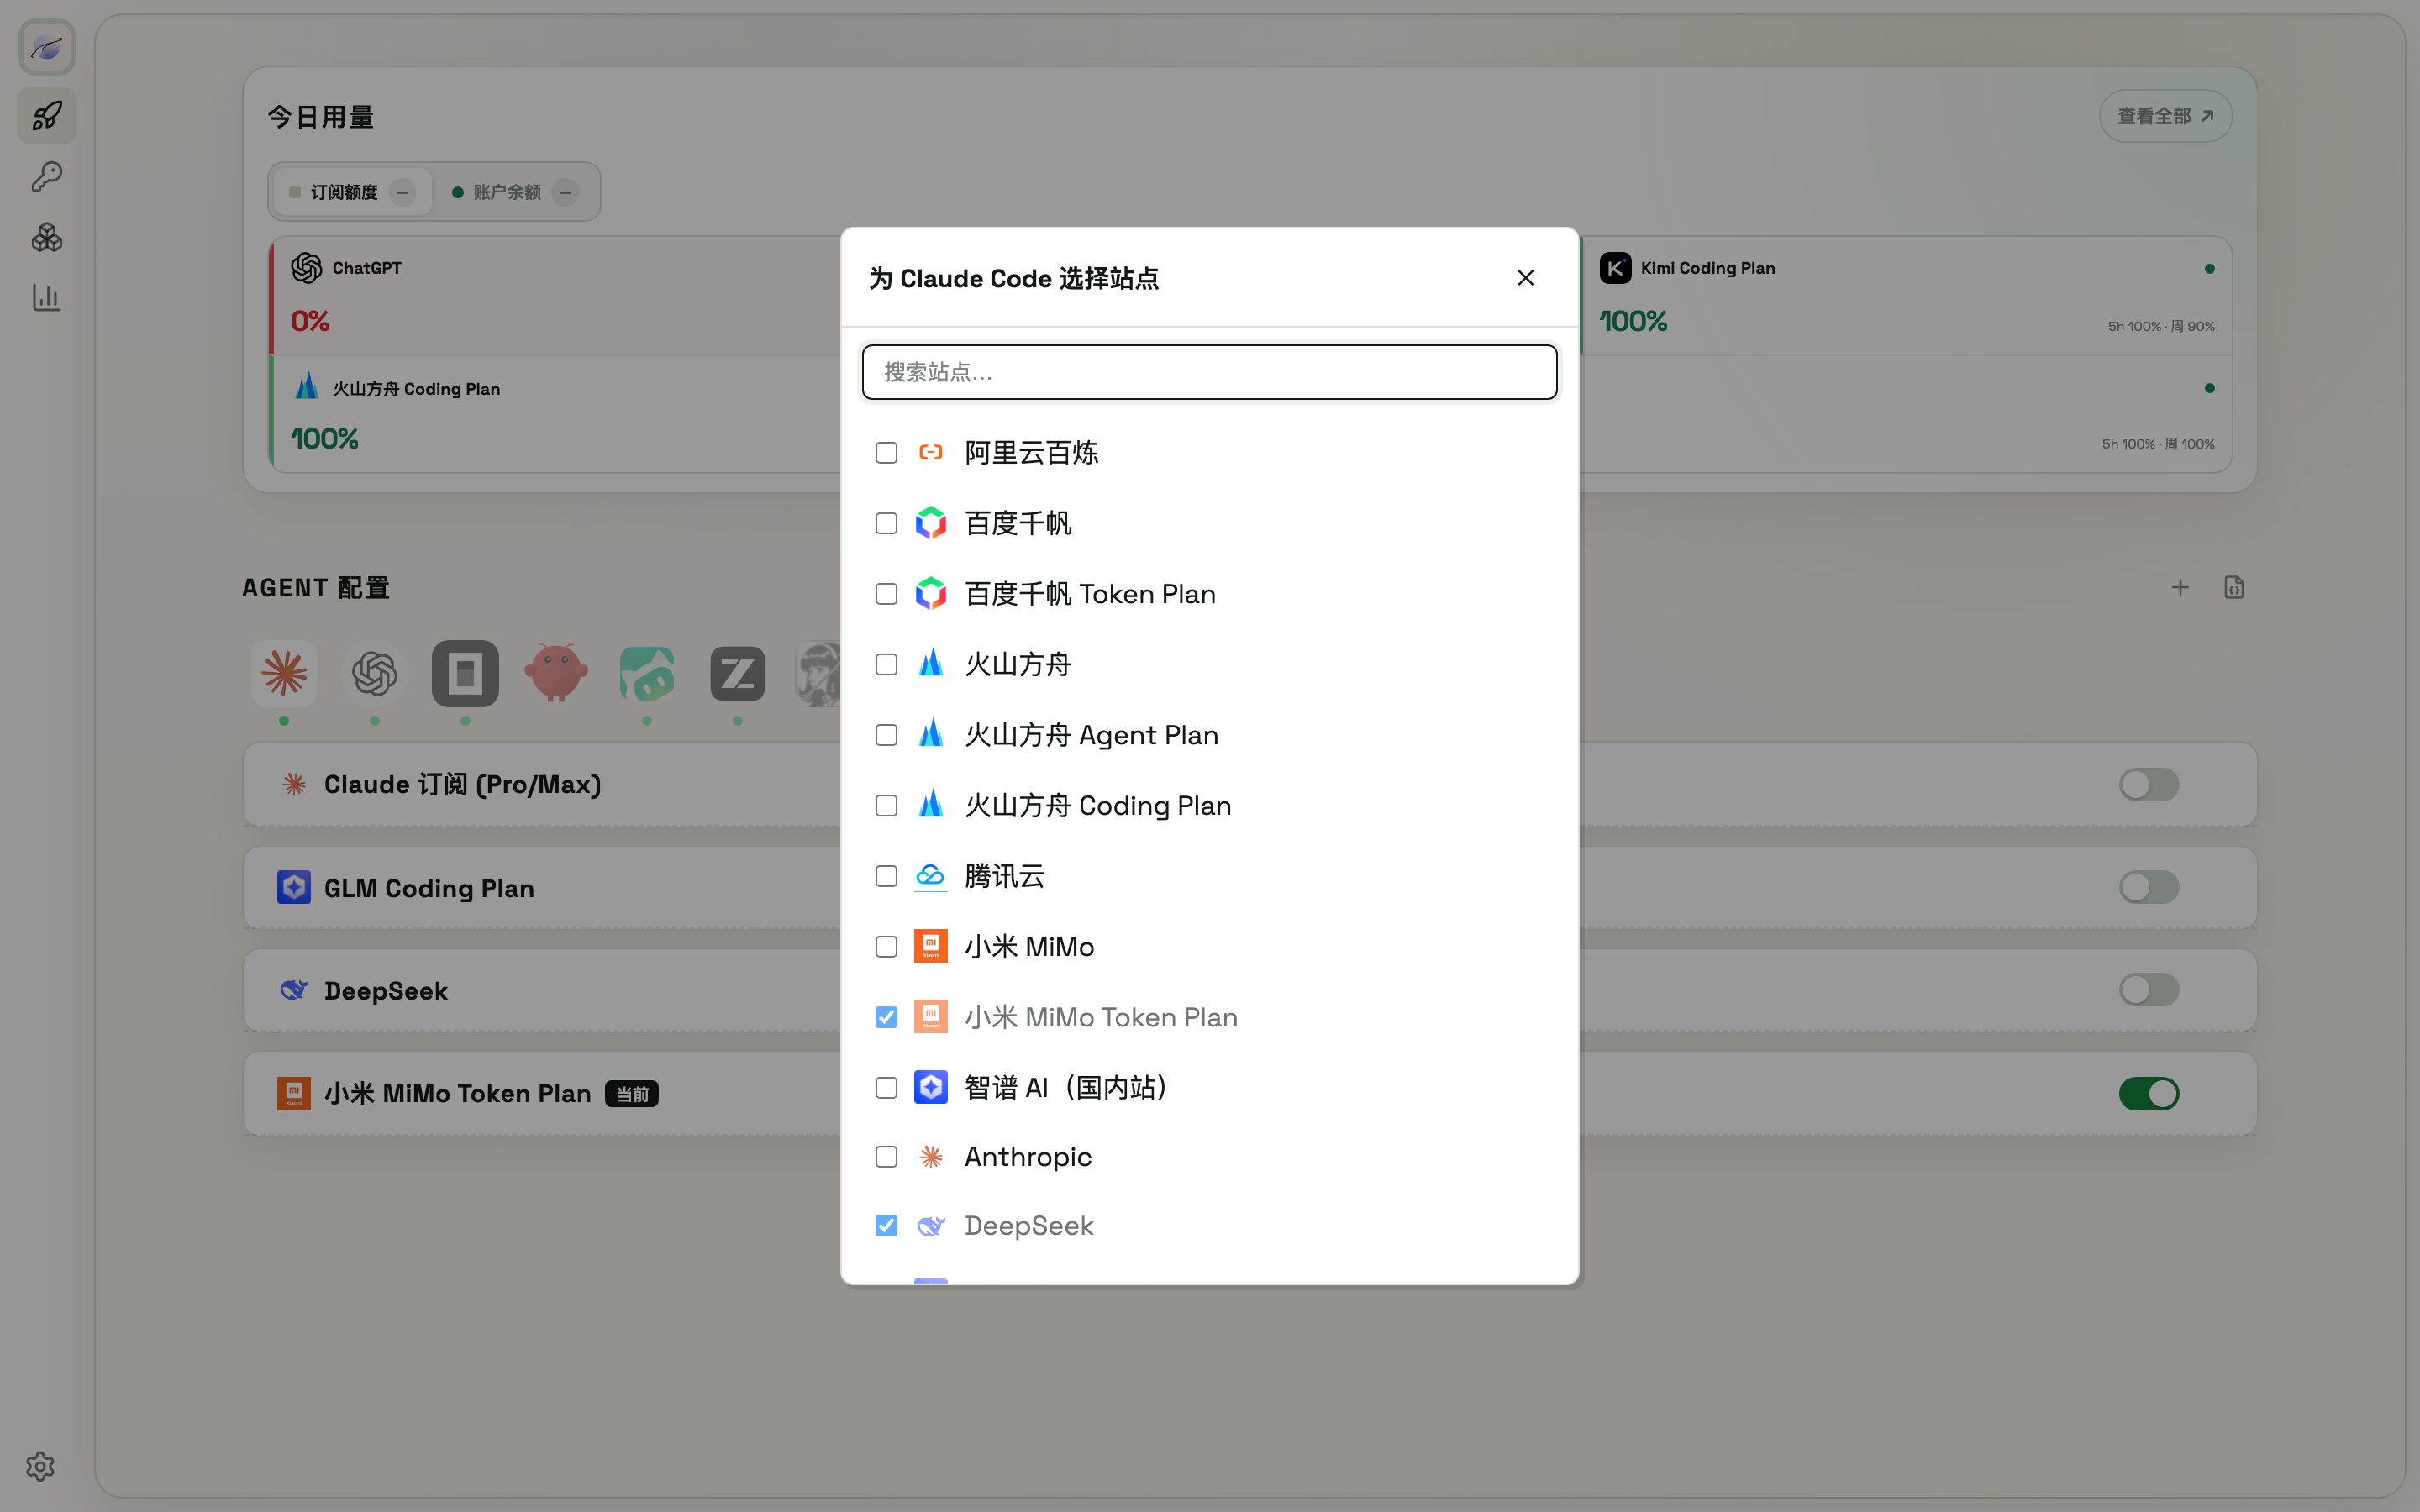
- Click + Add site at the right of the section title
- The dialog lists all ready providers (platforms already configured and authenticated per chapter 7); search and check the ones you want
- Pick models: search by name/ID, multi-select (non-coding models carry a "non-coding" tag to prevent mismatches); hit Refresh to pull the platform's latest model list on the spot
- Click Save models — ModelSwap validates routing and auth, then writes the agent config
9.4 View / edit config files
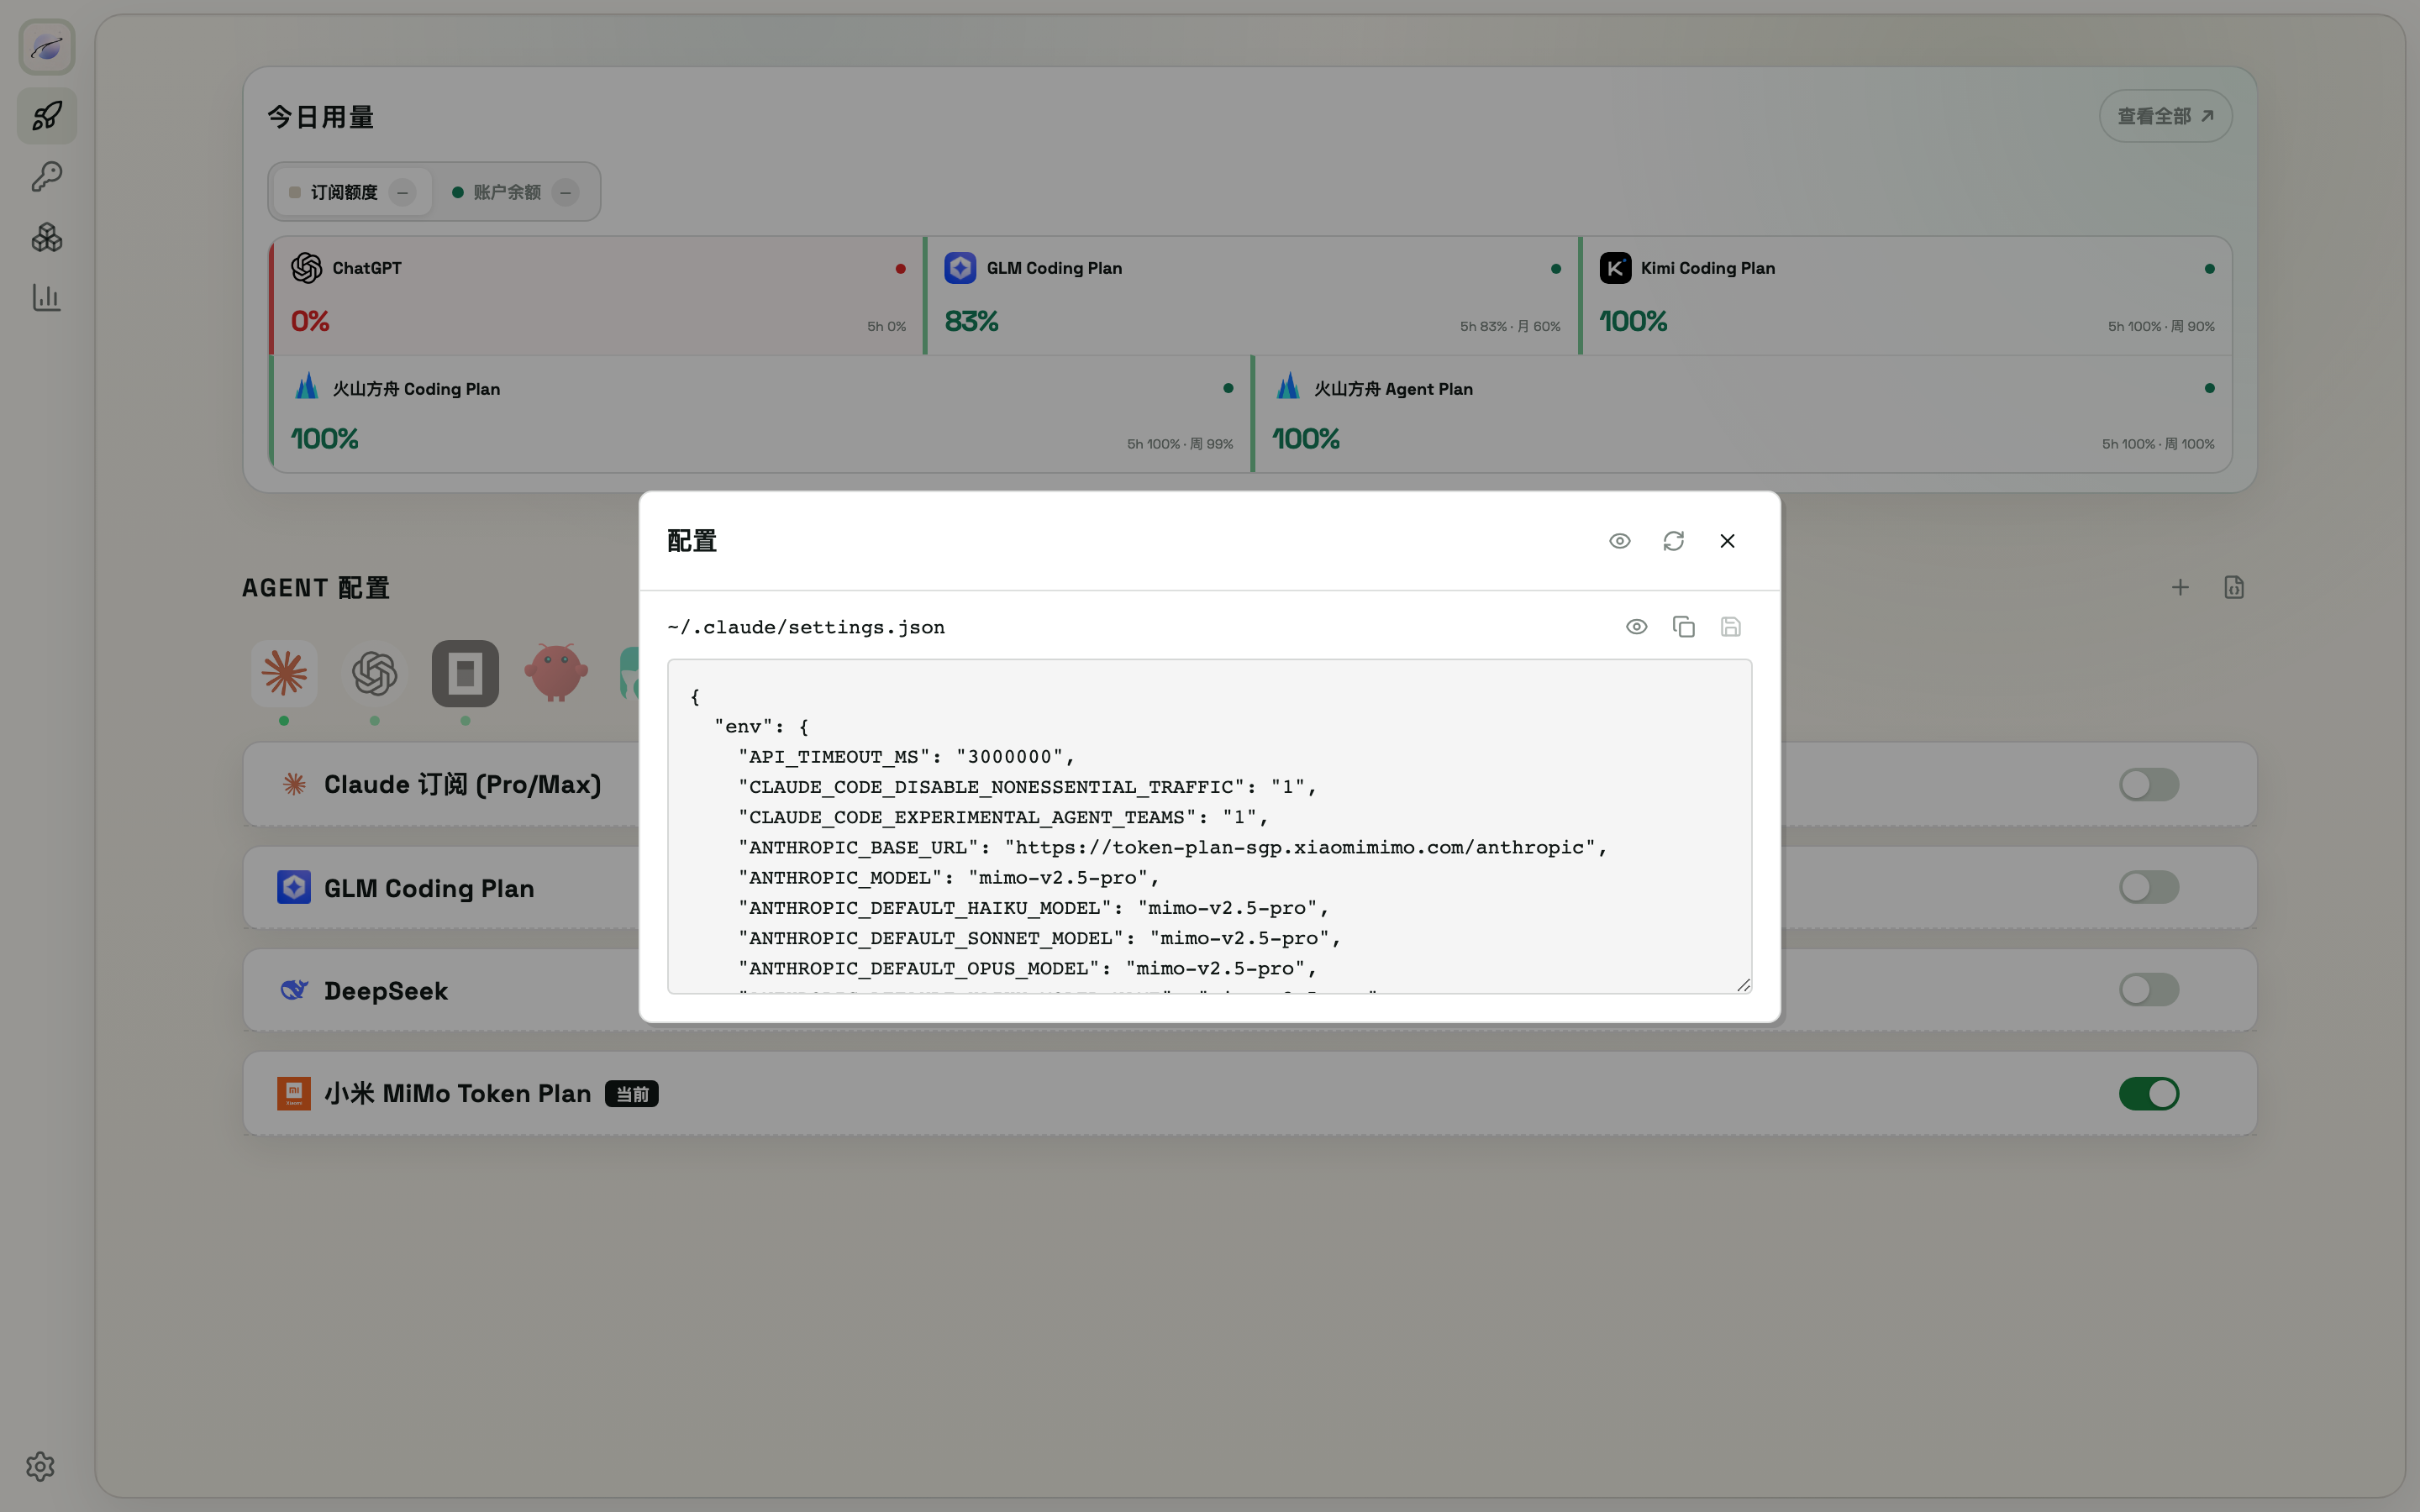
Click View config (the file icon) at the top right of the section:
- One tab per config file the agent uses (e.g. Claude's
settings.json, Codex'sconfig.toml+.env); the dot on each tab shows whether the file exists (green = exists, red = missing) - Sensitive values are masked by default; click the eye icon to reveal plaintext (with a "make sure nobody's around / no screen sharing" confirmation)
- The eye button next to a file path toggles tree preview (a collapsible JSON view); click again to go back to raw text
- You can edit and save directly: syntax is validated and a snapshot is taken before saving, so you can roll back (chapter 12)
9.5 Manage sites
- On/off toggle: for exclusive agents, turning a site off falls back to the official default config; for additive agents it removes the site from the agent's config (the site stays in the list, ready to re-enable)
- Remove site: the × on the card; for exclusive agents, removing the active site falls back to the official config
- Remove model: the small × on a chip (the model in use can't be removed; removing all models removes the site)
- Capability routing (Claude Code only): third-party site cards have HAIKU / SONNET / OPUS mapping rows — pick which of the site's models each tier uses (default: follow the main model), so Claude Code's tiered fallback never requests a model the site doesn't have
9.6 Switch from the CLI
modelswap provider switch            # interactive switch (agent optional)
modelswap provider use <provider> --agent codex --model <model-id>   # non-interactive, script/CI friendly
modelswap provider current           # current config of all agents
9.7 Notes
- Codex users: after switching, ModelSwap generates a native model catalog — you can switch with
/modelinside the Codex CLI without coming back to ModelSwap