
☰ Chapters
3. Ten-Minute Quick Start
From a fresh install to your first model switch in ten minutes.
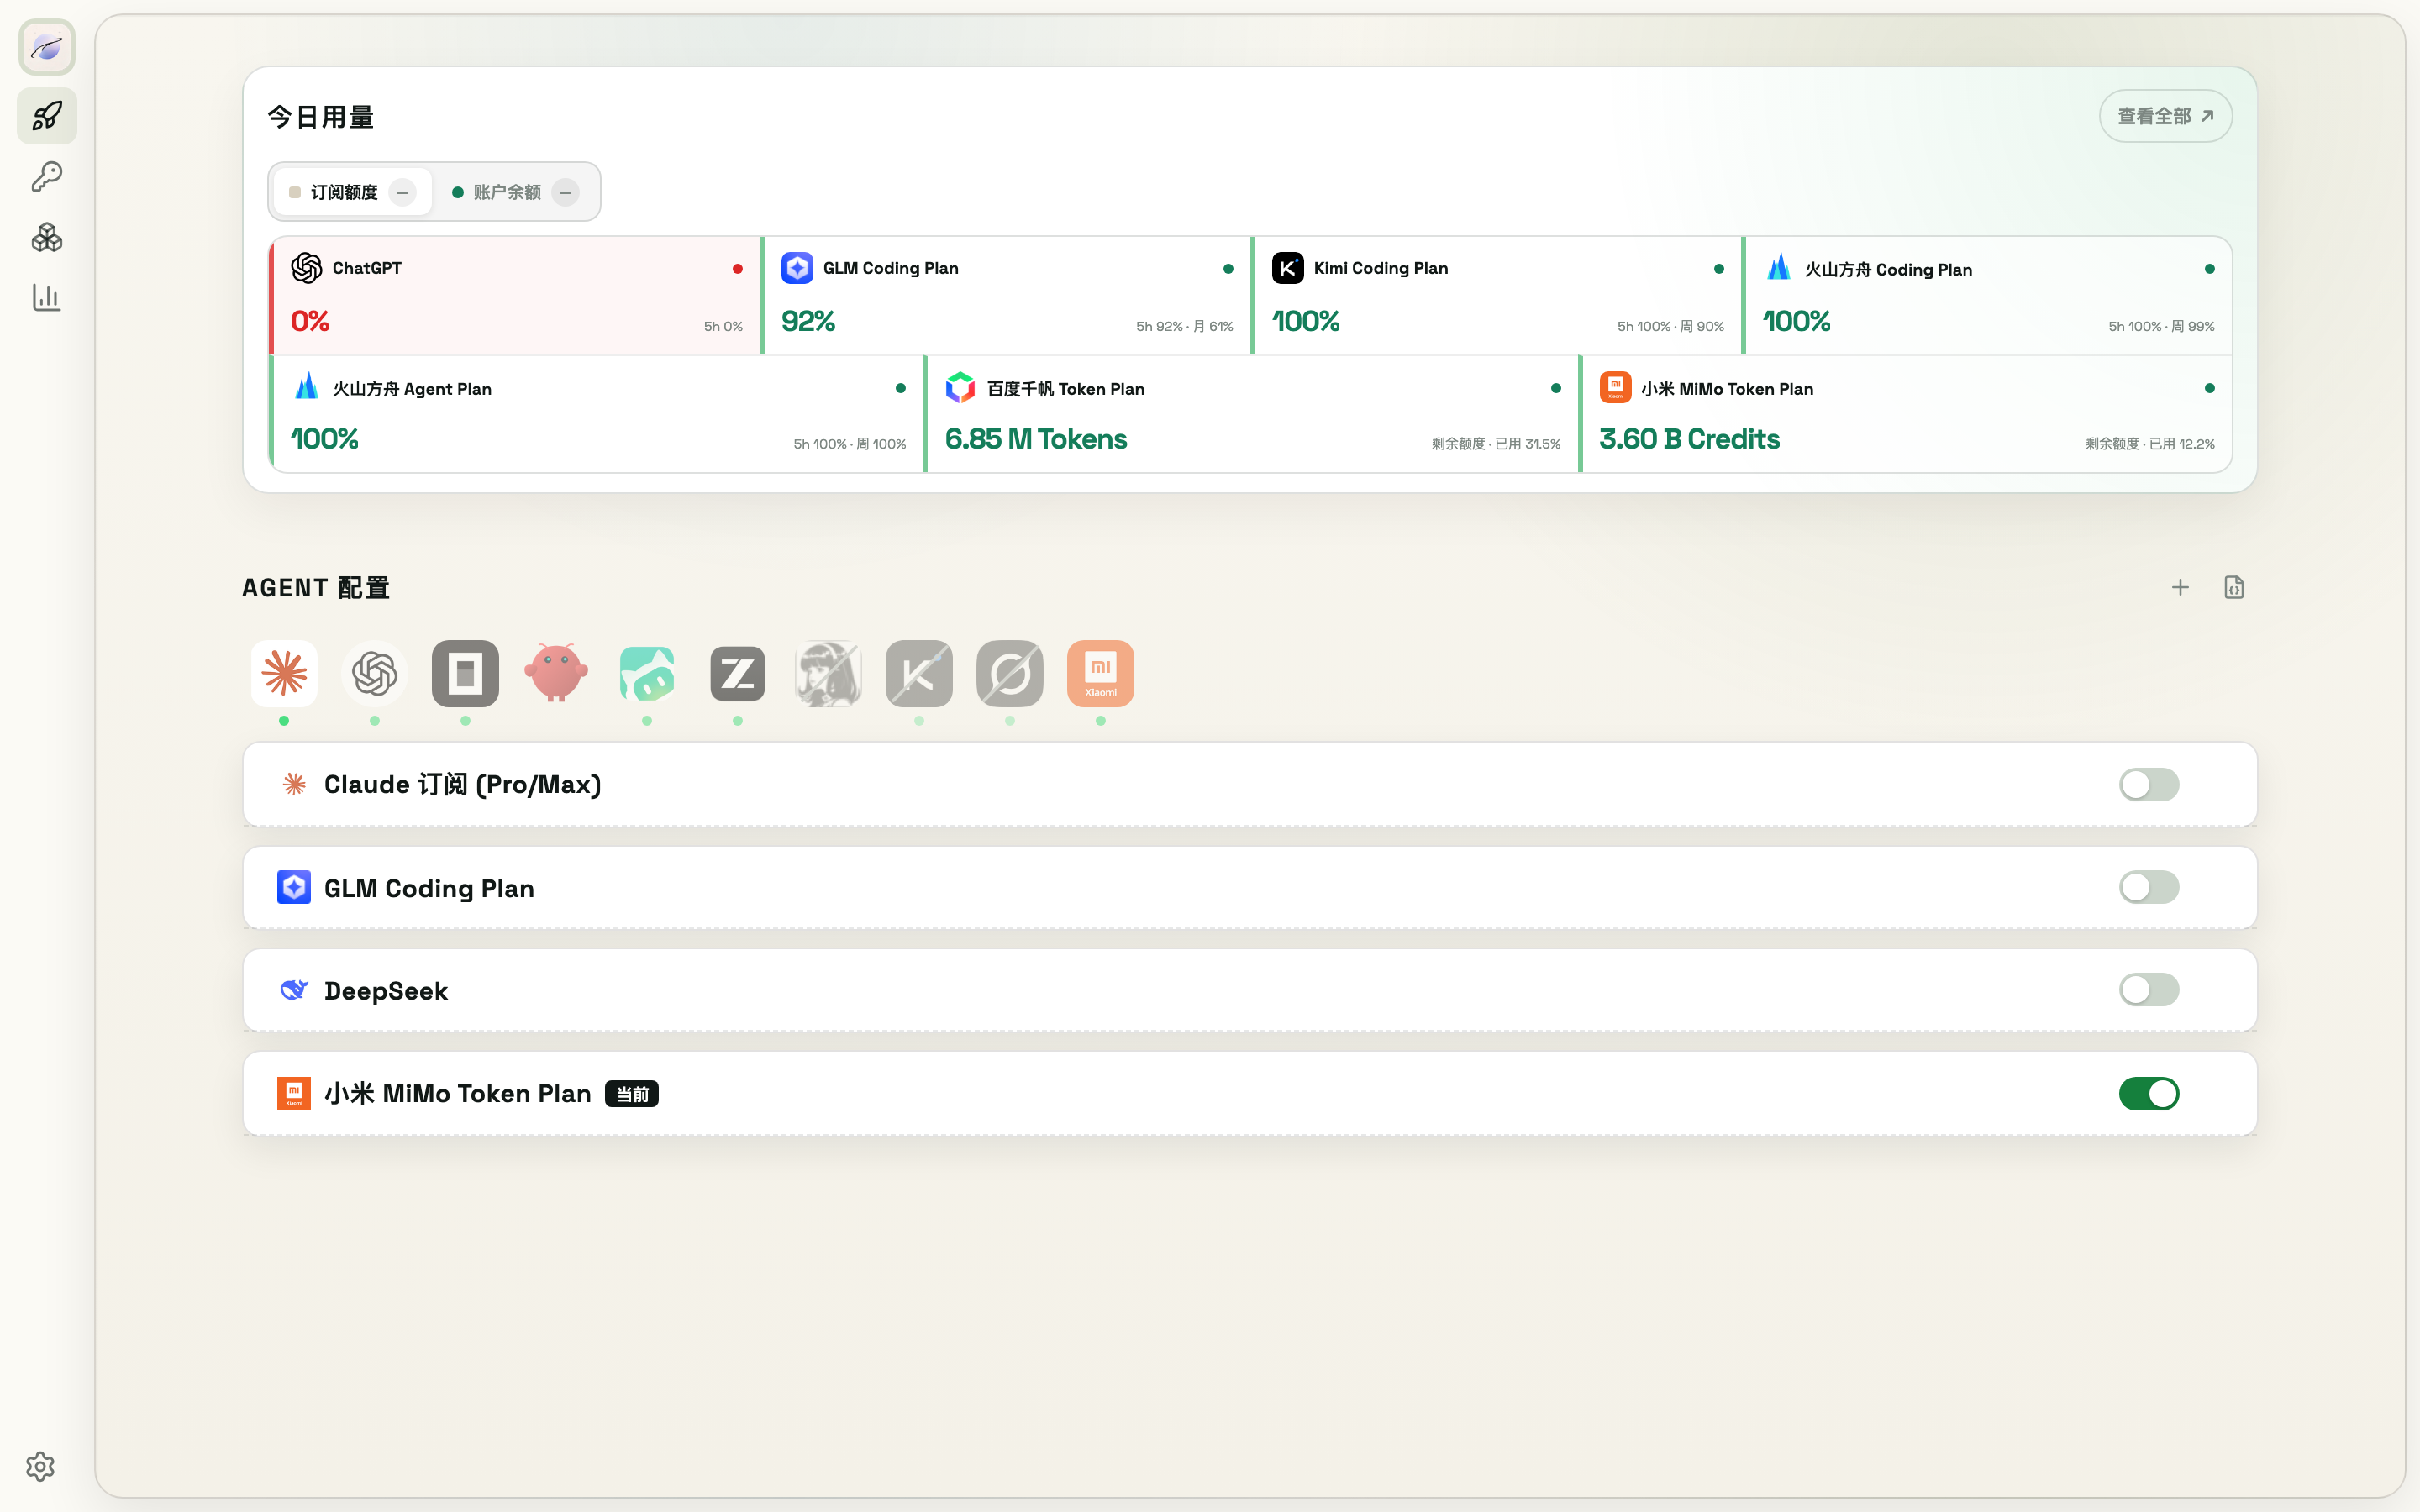
3.1 Install & open
Desktop app (recommended): download the dmg from GitHub Releases, drag it into Applications, and open it — the console window appears automatically. If macOS blocks the first launch, follow the steps in chapter 2 to allow it once.
CLI:
npm install -g modelswap
modelswap web          # opens http://localhost:3780
Other install options (build from source) are in chapter 2.
3.2 Store a key
- Manual: Vault → Add — name it (e.g.
anthropic-api), paste the value, save - Automatic: Vault → Auto-create — the browser extension fills the provider's console and files the key back for you (chapter 5)
- CLI:
modelswap vault set anthropic-api(interactive;--stdinkeeps secrets out of shell history)
3.3 Register & connect a provider
- Models page → click the platform card (e.g. Anthropic)
- Pick the vault entry as the key
- Click Connect — ModelSwap verifies the endpoint and pulls that platform's model list
3.4 Switch an agent over
- Quick Start page → pick the agent at the top (e.g. Claude Code)
- Toggle the provider on
- Click a model chip — done. ModelSwap writes the agent's config file itself (
config.toml,auth.json, …)
Terminal equivalent:
modelswap provider use <provider> --agent <agent-id> --model <model-id>
Get agent / model ids from modelswap provider current --json (see chapter 9 for the full flow).
3.5 Verify
modelswap provider auth --json    # auth state per provider
modelswap provider current        # what each agent resolves right now
Then ask the agent a small prompt. If it still uses the old model, the running CLI session cached the old config — restart it (see FAQ).
You've now walked through the core flow. From here, explore what interests you:
- Key management: create keys in bulk (chapters 4–5)
- Usage monitoring: subscription balance queries and alerts (chapter 8)
- Multi-device sync: end-to-end encrypted sync via iCloud / WebDAV / Cloudflare (chapter 11)
- More agents: all supported agents and how to switch (chapter 9)